A Step-by-Step Guide to Setting Up a 360-Degree Product Shoot
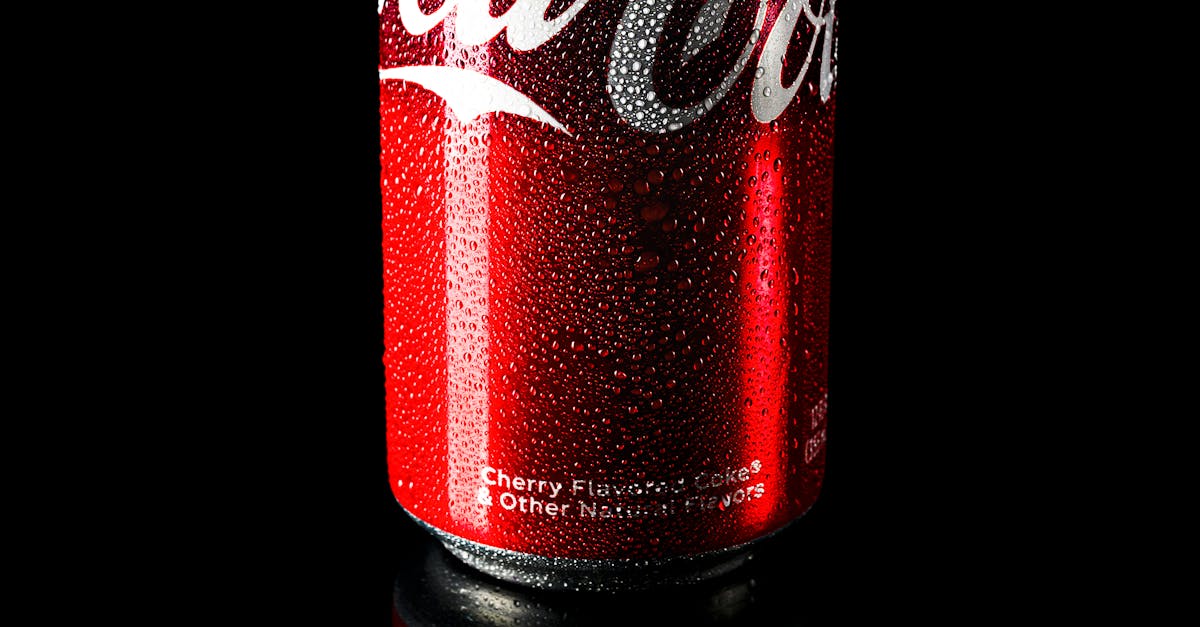
Table Of Contents
Capturing the Images
To achieve an effective 360-degree product shoot, begin by selecting an appropriate backdrop and ensuring adequate lighting. A clean, uncluttered background allows the product to stand out, while soft, even lighting minimizes harsh shadows. Position your product at the centre of the setup. Use a tripod to maintain stability and consistency throughout the shoot. It is vital to take multiple images from varying angles, capturing the product’s details and features.
Once your setup is in place, focus on using a camera with manual controls. This allows you to adjust the aperture, shutter speed, and ISO settings to suit the environment. Set the camera to shoot in RAW format for better post-processing flexibility. Start capturing images in increments, rotating the product or the camera after each shot to ensure that every angle is well-represented. Take your time during this process to avoid missed details, as the quality of the initial photos plays a significant role in the overall 360-degree viewing experience.
Step-by-Step Guide to Taking Photos
Begin by preparing your product for the shoot. Ensure it is clean and free from dust or fingerprints. Consider the lighting environment. Natural light can create a soft effect, while artificial lights can provide more control over shadows and highlights. Set up the product on a turntable for smooth rotation. This device allows the product to be captured from multiple angles without requiring manual adjustment during the shoot.
Mount your camera on a tripod to maintain consistency in framing. Opt for a lens that suits the product size; a macro lens works well for smaller items, while standard lenses are suitable for larger products. Begin taking photos as you rotate the product in intervals, ensuring that you capture images at regular increments. This strategy allows for seamless stitching later during the editing process. Pay attention to your exposure settings to maintain uniformity across all images for a more professional final result.
Using Software for Image Processing
The right software is essential for enhancing and processing your images post-shoot. Many options cater to different needs and skill levels, ranging from beginner-friendly applications to more advanced programs. Popular choices include Adobe Photoshop and Lightroom, both of which offer robust editing features. These tools allow for easy adjustments in colour, exposure, and sharpness, helping to bring out the best in each image captured during the shoot.
Stitching software is crucial for creating seamless panoramas or 360-degree images. Applications like PTGui and Hugin are well-regarded for their ability to blend multiple images together smoothly. They also provide control over the final appearance of your product visuals, ensuring a professional finish. Additionally, these programs often come with user-friendly guides and forums, making it easier for users to troubleshoot any issues that may arise during the process.
Recommended Programs for Editing and Stitching
When it comes to editing and stitching images for a 360-degree product shoot, several software options stand out for their functionality and user-friendliness. Adobe Photoshop is a powerful choice for those who require detailed editing capabilities. For those seeking a dedicated platform for stitching, PTGui remains a popular option, allowing users to seamlessly combine multiple images into a single panoramic view. Additionally, Capture One offers robust editing tools tailored to professional photographers, making it ideal for high-quality image enhancement.
Another noteworthy program is Hugin, which is an open-source alternative known for its versatility and effectiveness in stitching images together. It provides a range of advanced features for those willing to delve deeper into image processing. Affinity Photo is also gaining traction for its intuitive interface and comprehensive editing solutions, catering to both novices and experts alike. Selecting the right software will depend on personal preference and the specific requirements of your project.
Creating the 360-Degree Viewing Experience
To offer an immersive experience, selecting the right platform for displaying your 360-degree product images is crucial. Many businesses opt for specialised software that ensures a seamless transition between different angles. This can enhance user engagement significantly. Some options allow for customisation, enabling brands to tailor the viewer's interface according to their aesthetic and functional needs.
Integration with e-commerce platforms can further streamline this experience. Many solutions support easy embedding of 360-degree views into online shops, enhancing product listings. Consumers appreciate having the ability to explore every detail of an item from various perspectives. This not only creates a more informative shopping experience but can also help in boosting conversion rates as customers feel more confident in their purchasing decisions.
Platforms and Tools for Hosting Your Content
The growing demand for 360-degree content necessitates reliable platforms for hosting and showcasing these immersive experiences. Websites like YouTube and Vimeo provide free hosting options, enabling users to upload high-quality 360-degree videos along with ease of integration into existing websites or social media. These platforms also offer interactive features that can enhance viewer engagement, making the content more appealing and accessible on various devices.
For businesses looking to host product galleries, dedicated services like Shopify and WooCommerce support 360-degree imagery integrated with e-commerce functionalities. These tools allow users to create a seamless shopping experience where customers can interact with products from every angle. This not only improves user experience but also can lead to increased conversion rates as potential buyers get a more comprehensive view of the items they are considering.
FAQS
What equipment do I need for a 360-degree product shoot?
For a 360-degree product shoot, you'll need a good quality camera, a tripod, a turntable (or a sturdy surface for rotating the product), adequate lighting, and potentially a remote shutter release to minimise camera shake.
How do I ensure even lighting for my product shoot?
To achieve even lighting, use softbox lights or LED panels to reduce harsh shadows. Position the lights at a 45-degree angle on either side of the product and consider using reflectors to bounce light and fill in shadows.
What software is best for stitching images together?
Some recommended programs for stitching images include Adobe Photoshop, PTGui, and Autopano. These applications allow you to align and merge multiple images to create a seamless 360-degree view.
Can I host my 360-degree product images on social media platforms?
Yes, many social media platforms, such as Facebook and Instagram, support 360-degree images. However, make sure your images are in the correct format and follow the platform's guidelines for optimal viewing.
How can I create an interactive 360-degree viewing experience?
To create an interactive 360-degree viewing experience, use platforms like Matterport, Kuula, or Cospaces. These tools allow you to upload your images and create interactive tours that can be shared with your audience.
Related Links
Integrating 360-Degree Product Images into Your Marketing StrategyThe Role of Lighting in 360-Degree Product Photography
Enhancing User Experience with 360-Degree Product Views
Common Mistakes to Avoid in 360-Degree Product Imaging
Best Practices for Styling Products in 360-Degree Imaging
Creating Interactive 360-Degree Experiences for Consumer Engagement
Essential Equipment for High-Quality 360-Degree Product Photography
How to Effectively Capture 360-Degree Product Spins for Online Retail